Last week’s hottest news other than the drama unfolding at Open.AI with Sam, this was a very positive news when Stability.AI announced that they have released Stable Video Diffusion (21st November 2023). A few days later the first two models are available for experimental/evaluation use (ie. Non-commercial), so of course then we wait for the community to take this to next level and make it usable on your own PC.
We have two models available:
- Stable Video Diffusion – As its referred to as SVD, its able to produce short video clips from an image at 14 frames at resolution of 576×1024 or 1024×574. This is sufficient for small clips but these will be choppy due to the lower frame rate. Model file is svd.safetensors 9.56GB
- Stable Video Diffusion XT – SVD XT is able to produce 25 frames at resolution of 576×1024 or 1024×574. This would provide smoother results. Model file is svd_xt.safetensors 9.56GB
Here are some samples available and shared at the above links. These are smooth GIF images.
Now that you have the links to the models you can download the model file (.safetensors) which is about ~10 GB, depending upon what you prefer to use. I will be using Stable Video Diffusion XT version to push my RTX4080 16GB card.
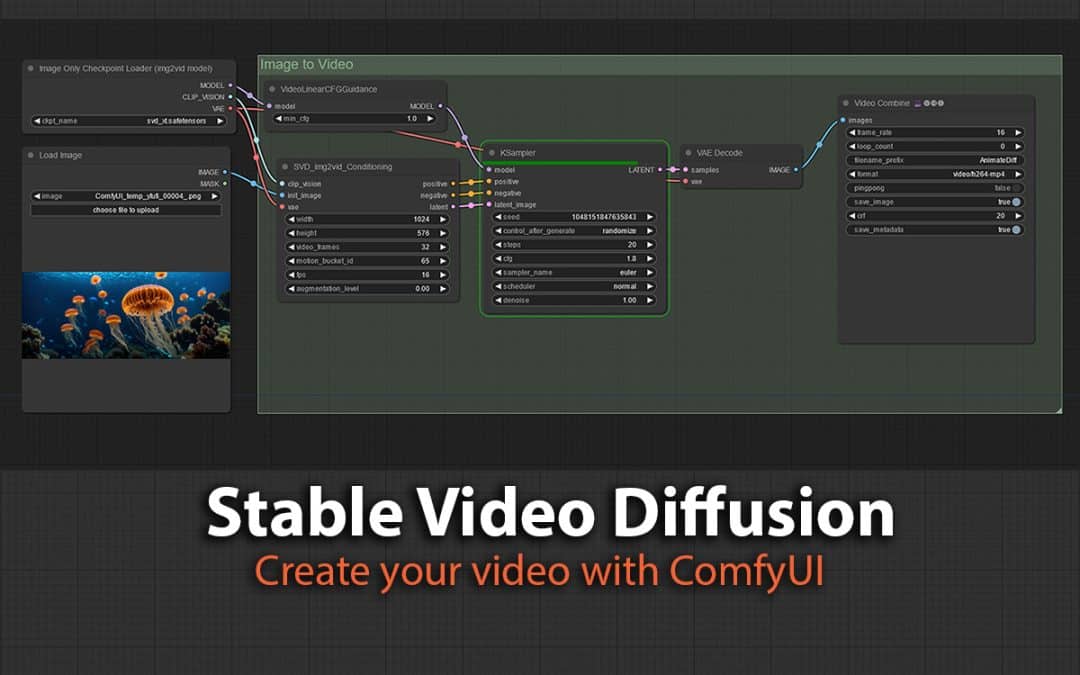
Next we need the ComfyUI workflow which is available for download. There is one workflow for Text-to-Image-to-Video and another for Image-to-Video.
I am going to experiment with Image-to-Video which I am further modifying to produce MP4 videos or GIF images using the Video Combine node included in ComfyUI-VideoHelperSuite
Download ComfyUI Workflow
SVD-Image-to-Video (30048 downloads )The first experiment is using a frame that I have a frame from another project I’ve been working on. The result was pretty cool using the default settings of the workflow. The camera movement is pretty cool as the subject moves the camera is following her.
This result was produced in 52 seconds in my setup.
Now when I’m experimenting further with 24fps and producing 2-3 seconds worth of video it takes 2-3 minutes. This is pretty acceptable at 1024 by 576 pixels, 48 video frames, 24 fps – this gives me 3 second clip.

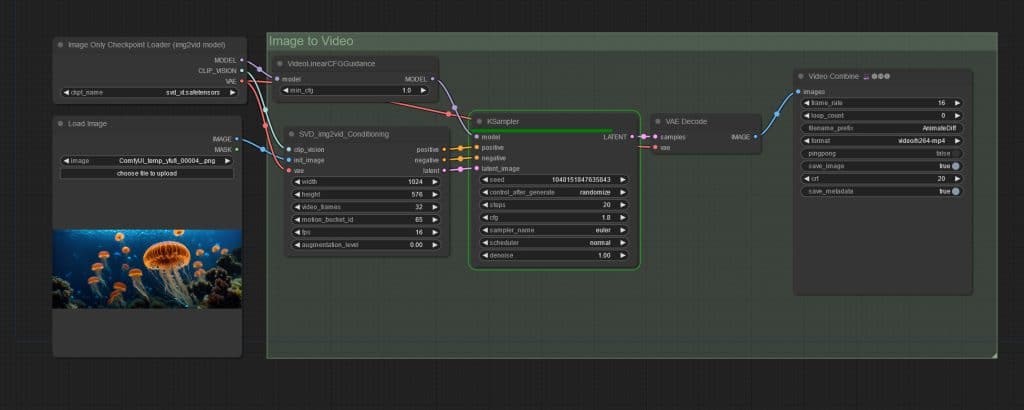
The key parameters of SVD_img2vid_Conditioning are:
- video_frames – the number of frames that will be generated. You have to calculate this to align with your fps.
- motion_bucket_id – the number dictates how much motion will be in the video. At the moment this is only way to control the movement, there are no prompts or other controls to guide the movement. It’s fun to experiment with these.
- fps – frames per second, higher the value smoother the video and smaller value the choppy the video will be. As you start I suggest start with 6 fps and then can move up to 24/25fps if your GPU can handle it.
- augmentation_level – the amount of noise that will be added to your initial image, lower value means the video will look a lot like original image and higher values the more it will move away from original image.
Tip: If you get this error (below) when running the workflow simply uninstall or disable FreeU.
Error occurred when executing KSampler:
unsupported operand type(s) for *=: 'int' and 'NoneType'
All my experiments have been interesting and some produced good results but nothing like the preview videos shared by Stability.AI above. I guess their secret recipe is not shared yet but it would be wonderful to know the settings they were using so we can also replicate them.
I’m continuing my experimentation and particularly with motion_bucket_id to see how it affects the animation. I will share my findings in up coming posts.
If you'd like to support our site please consider buying us a Ko-fi, grab a product or subscribe. Need a faster GPU, get access to fastest GPUs for less than $1 per hour with RunPod.io
so lost as to how to get the videohelpersuit added to comfy..
Do you have ComfyUI Manager installed? Its a great way to manage and install custom/missing extensions. That’s what I use which makes it a breeze to manage your ComfyUI install.
https://github.com/ltdrdata/ComfyUI-Manager