I’ve been experimenting more with my local PC with Stable Diffusion and enjoying the control I have over my images and generations. I wanted to make sure that I document the steps and share resources I have found when installing ControlNet on my local instance of Stable Diffusion.
I am assuming that you have already installed the Automatic1111 WebUI for Stable Diffusion before you begin the steps below.
DISCLAIMER: At the time of writing this blog post the ControlNet version was 1.1.166 and Automatic1111 version was 1.2.0 so the screenshots may be slightly different depending upon when you are reading this post.
ControlNet v1.1 significantly reduced the file size of the models from 5.71 GB each down to 1.45 GB which is a significant saving in disk space.
Resources
The GitHub repository for ControlNet extension for Automatic1111 is available at: https://github.com/Mikubill/sd-webui-controlnet
ControlNet models you need to download are available on Huggingface at: https://huggingface.co/lllyasviel/ControlNet-v1-1
YouTube tutorial: https://www.youtube.com/watch?v=vFZgPyCJflE
Process
- Launch Automatic1111 on your computer, usually done by launching webui-user.bat
- Click on the link generated to open Automatic1111 WebUI, usually the URL is http://127.0.0.1:7860
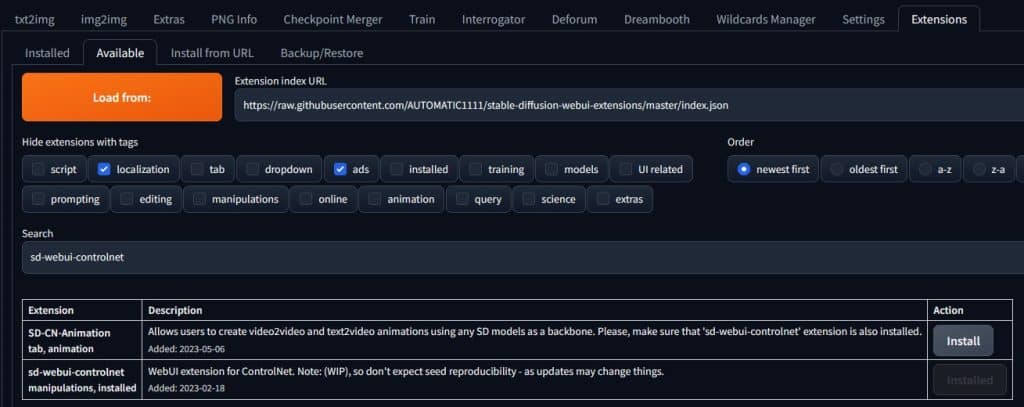
- Navigate to the Extensions tab and click on Available sub tab
- Click Load from: button
- In the Search box type in: controlnet. You will see an Extension named sd-webui-controlnet, click on Install in the Action column to the far right.
- WebUI will now download the necessary files and install ControNet on your local instance of Stable Diffusion.
- If you have trouble executing steps 3 to 6 above you can use the below alternate method. However if 3 to 6 are successful, skip this step 7.
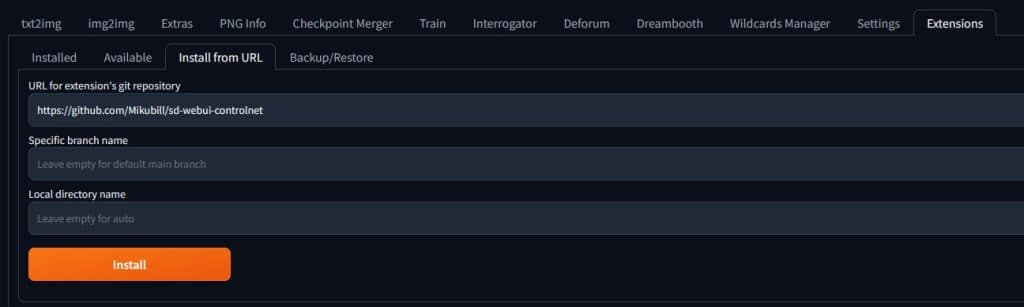
- Navigate to the Extensions tab and click on Install from URL sub tab.
- In the URL for extension’s git repository paste this: https://github.com/Mikubill/sd-webui-controlnet
- Click on Install
- WebUI will download and install the necessary files for ControlNet
- Navigate to the Installed tab and click on Apply and restart UI.
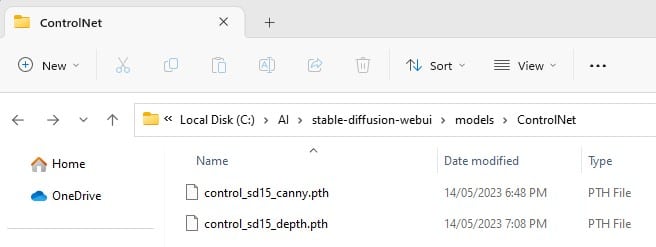
- Next download all the models from the Huggingface link above. Each file is 1.45 GB in size so it will take some time to download all the .pth files. Once downloaded move them into you stable-diffusion-webui\models\ControlNet folder.
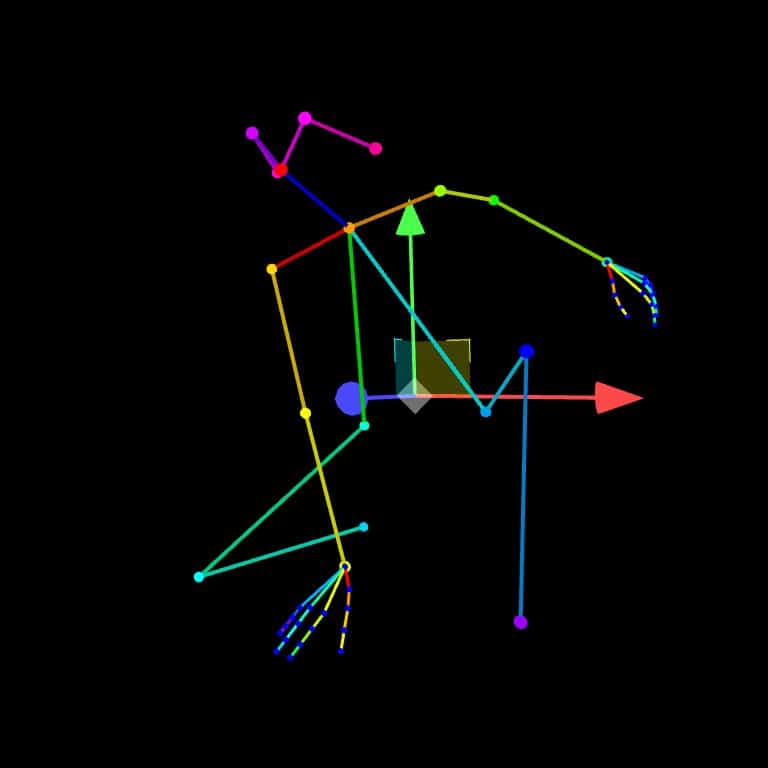
Once installed you can start to experiment with creating images using a control image that provides the desired depth or pose for the resulting image. I used posemy.art to create a Openpose image which I then used to create the below result, you can download the pose image here.

If you'd like to support our site please consider buying us a Ko-fi, grab a product or subscribe. Need a faster GPU, get access to fastest GPUs for less than $1 per hour with RunPod.io
This was quite helpful. Posemy.art’s ability to export as an openpose map is AMAZING.
Thanks for this! I now see “ControlNet v1.4.440” as the selected model in the Automatic1111 UI, but where do we upload the pose image for the ControlNet?